
25 Step-by-Step Braided Hairstyles Tutorials Anyone Can Master
You’ll master braids from the classic three-strand to advanced styles like fishtail, Dutch, ladder, crown, and heart-shaped techniques with these 25 expert step-by-step tutorials. Start by sectioning and detangling your hair for clean lines and use controlled tension for even, secure plaits.
Learn how to pancake edges for volume, incorporate strands for seamless updos, and maintain symmetry for intricate accents. With these precise instructions, you’ll soon achieve flawless braids—all the secrets are just ahead.

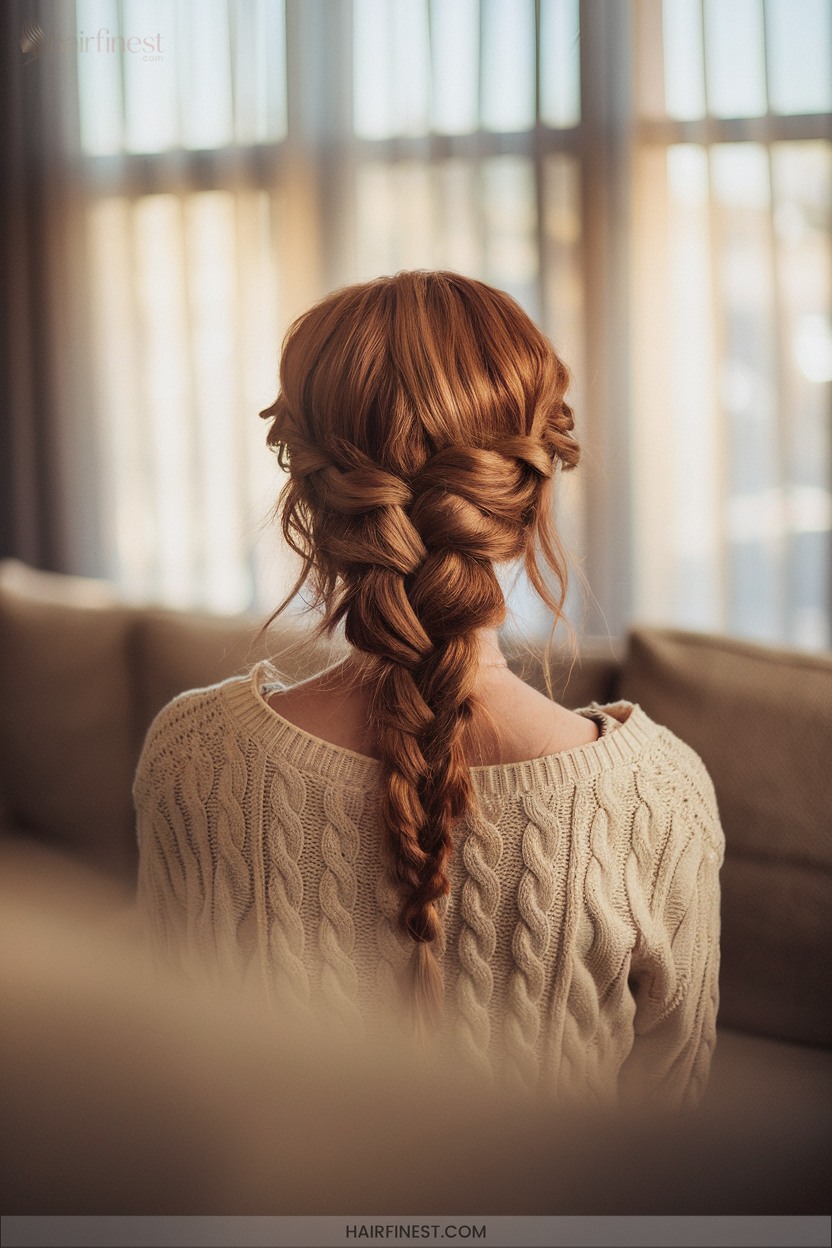
1. Classic Three-Strand Braid

The classic three-strand braid is a foundational technique in hairstyling, valued for its simplicity and versatility.
A timeless staple, the three-strand braid offers effortless elegance and adaptability for countless hairstyling possibilities.
Begin by detangling and sectioning hair equally.
Cross the right strand over the middle, then the left, maintaining consistent tension for a sleek result.
Secure with a discreet elastic.
For enhanced dimension, gently pancake the braid’s edges.
Leverage extensions for creative variation and structural experimentation.
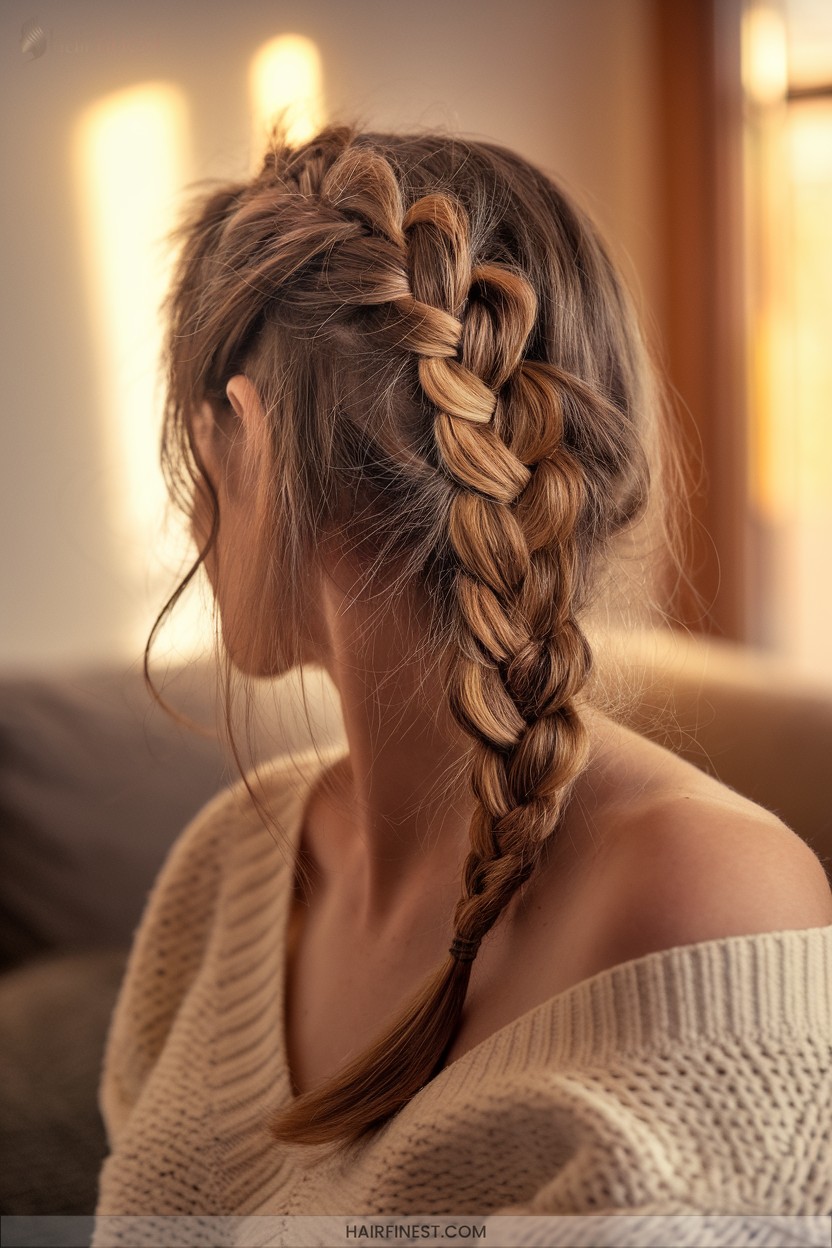
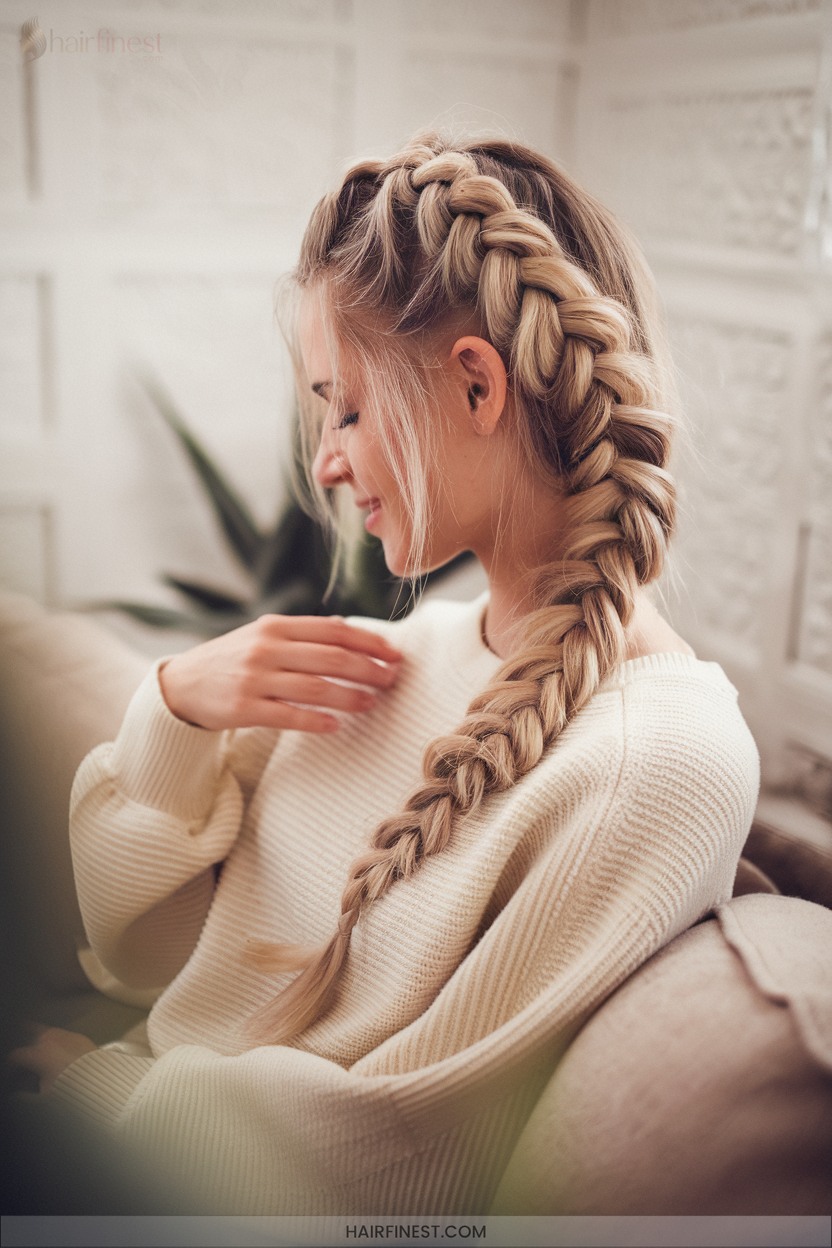
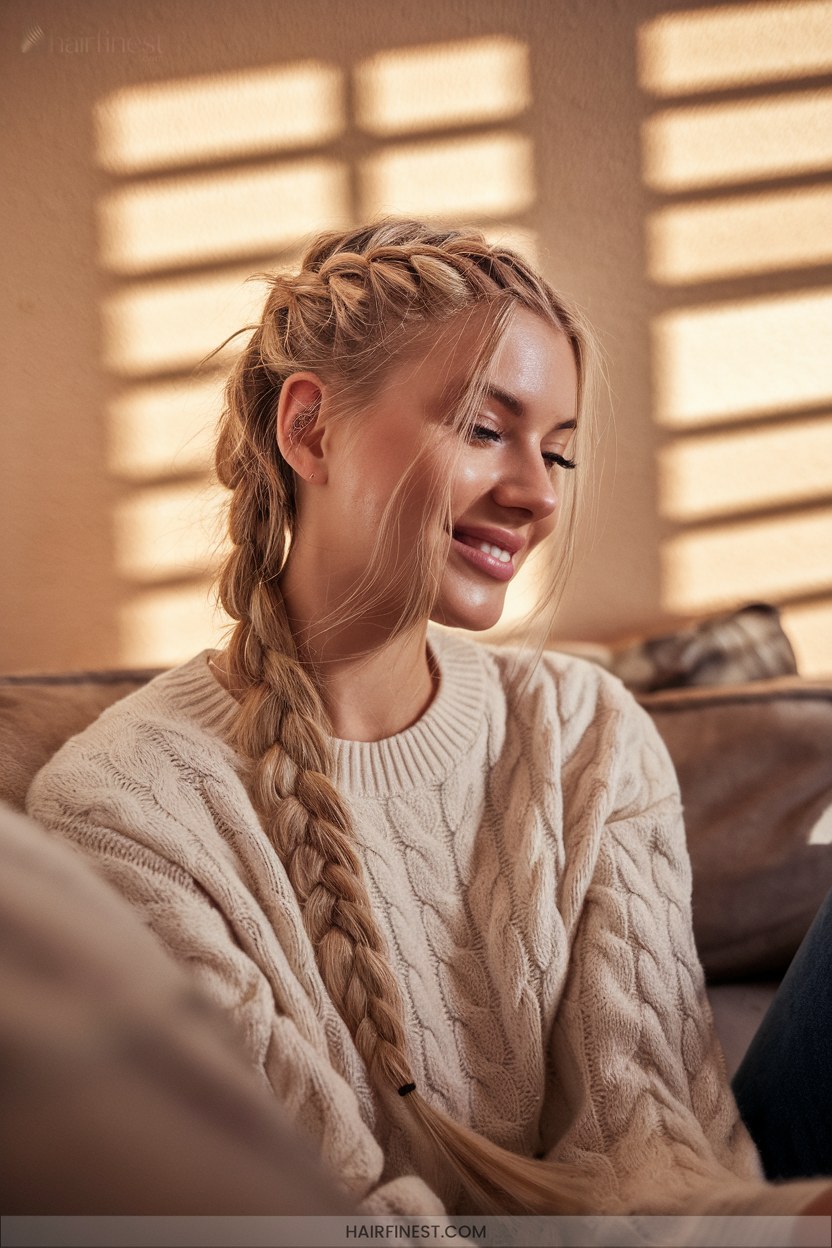
2. Simple Side Braid

A simple side braid offers an elegant yet practical way to style hair, emphasizing facial structure and adding dimension.
Sweep clean, brushed hair to one side, part just off-center, and gather for a seamless base.
Section above the ear, braid with even tension using an over-under or Dutch technique, and secure with an elastic.
Loosen edges for volume or integrate embellishments for advanced styling effects.
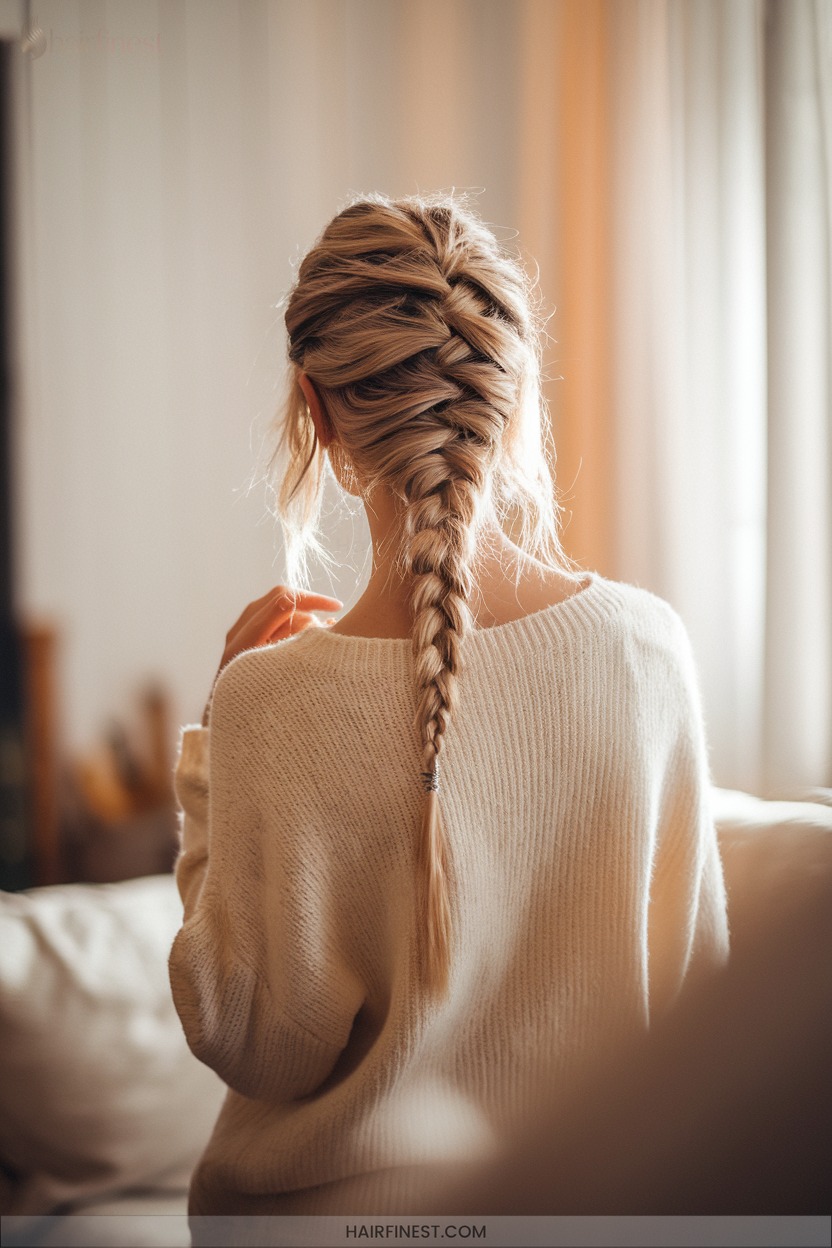
3. Basic French Braid

Master French braiding by starting with clean, detangled hair, ensuring a smooth foundation for precise sectioning and tight weave.
Create a triangular section at the crown, divide into three equal strands, and begin alternating over-middle crossings.
Integrate small, neat sections from each side, maintaining scalp proximity and tension.
Once reaching the nape, switch to a standard braid, secure with an elastic, and refine for symmetry.
4. Dutch Braid Technique
Once you’ve built confidence with the French braid, Dutch braid technique offers a distinct, elevated look by reversing the crossing method.
Master the Dutch braid by reversing the French braid’s crossing method for a bold, elevated style with striking dimension.
You’ll cross strands under—never over—maintaining firm tension and precise sectioning.
Secure the three strands with strategic finger placement, incorporating additional hair before each under-cross.
This inside-out approach yields a bold, 3D braid ideal for statement styles, innovation in updos, or athletic, visually prominent looks.
5. Fishtail Braid Made Easy
The fishtail braid delivers a striking, intricate pattern by dividing hair into two even sections and systematically crossing small strands from the outer edges to the opposite side.
Prioritize precision: maintain section symmetry and consistent tension for structural integrity.
Employ your fingers for ideal strand control, and secure each crossover with your thumb and index finger.
Adjust section sizes for complexity, and finish by loosening edges for enhanced texture and volume.
6. Double Dutch Pigtails

Building on the structured approach of the fishtail braid, double Dutch pigtails require methodical sectioning and a reverse braiding motion for a bold, raised effect.
Double Dutch pigtails use precise sectioning and reverse braiding to create a striking, elevated look inspired by the fishtail braid.
Divide the hair into two even panels.
Cross each side strand under the center, integrating new sections tightly for symmetry and tension control.
Once you reach the base, extend with a standard three-strand braid.
Secure with elastics for a polished, contemporary finish.
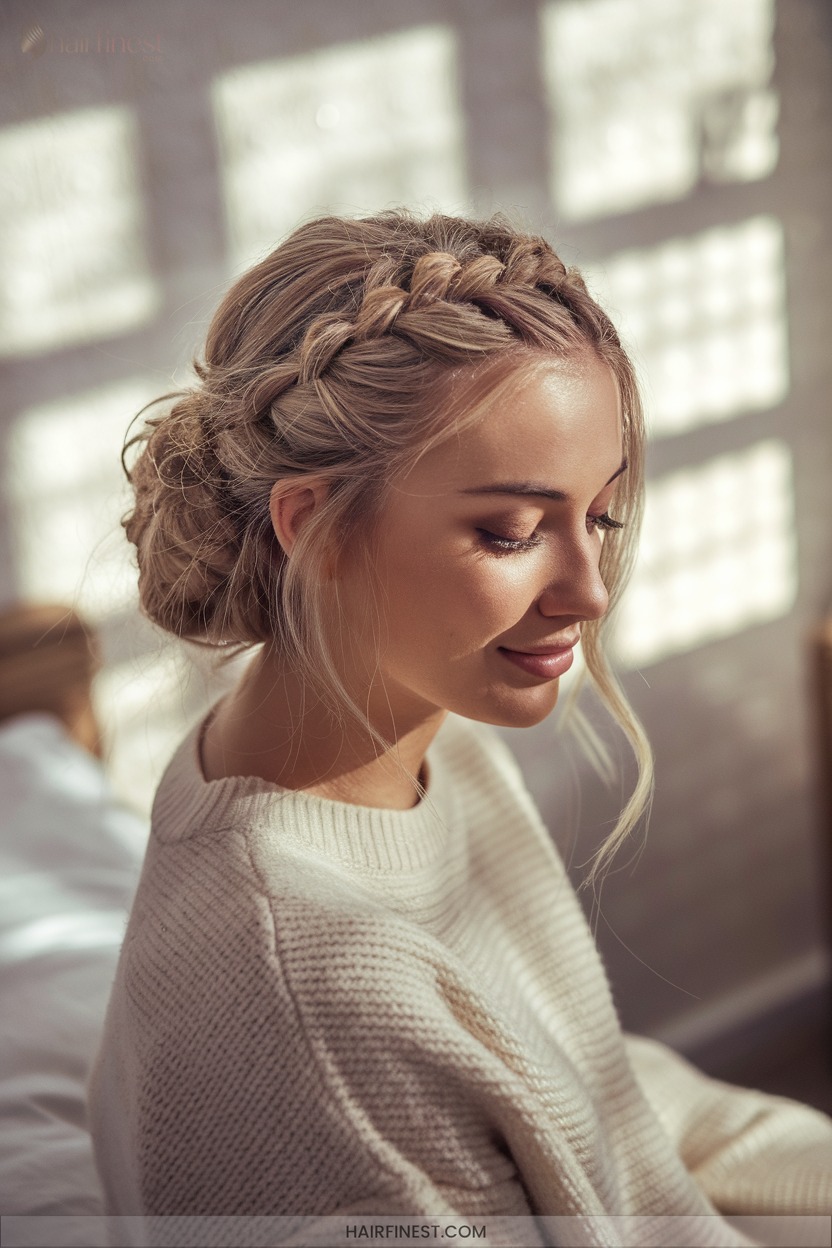
7. Crown Braid How-To

Elevate your styling repertoire with the crown braid—a classic technique that encircles your head in a seamless, woven halo.
Begin with detangled, parted hair, and use a Dutch braid, feeding in sections as you move along the hairline.
Secure with elastics and conceal ends using bobby pins.
For maximum volume, gently pancake braid edges, then set your creation with a fine mist of hairspray.
8. Waterfall Braid Steps
After mastering the crown braid, refine your braiding skills with the waterfall braid—an intricate style that creates cascading sections through strategic strand placement.
Start by sectioning and detangling hair, then execute a three-strand braid.
Drop the bottom strand, replacing it with a new section, and repeat.
Maintain even tension and strand thickness.
Secure the end with a bobby pin.
Practice guarantees precise, innovative results.
9. Pull-Through Braid Style
The pull-through braid offers a modern, voluminous alternative to traditional braiding methods, utilizing a series of strategically placed ponytails and clear elastics to create the illusion of a woven plait without intricate weaving.
Prep with clean, dry hair and volumize by teasing at the crown.
Sequentially split, pull, and secure ponytails for a structured finish.
Adjust tension and accessorize for innovative, customizable results.
10. Rope Twist Braid

A rope twist braid delivers a sleek, defined look by utilizing a simple two-strand technique that relies on precise sectioning and controlled tension.
Twist each section in the same direction, then cross them in the opposite direction, integrating small hair segments for consistency.
Employ styling powder for grip, secure with an elastic, and use mirrors and clips for accuracy.
Practice guarantees uniform, innovative results.
11. Four-Strand Braid Guide

Four distinct strands form the basis of a four-strand braid, offering increased density and a visually intricate pattern compared to the standard three-strand technique.
Begin by sectioning the hair evenly.
Cross the far right strand over, under, and over adjacent strands in sequence.
Maintain even tension and fluid motion for ideal definition.
For precision, use your fingers to hook strands.
Secure with an elastic when complete.
12. Half-Up Braided Style
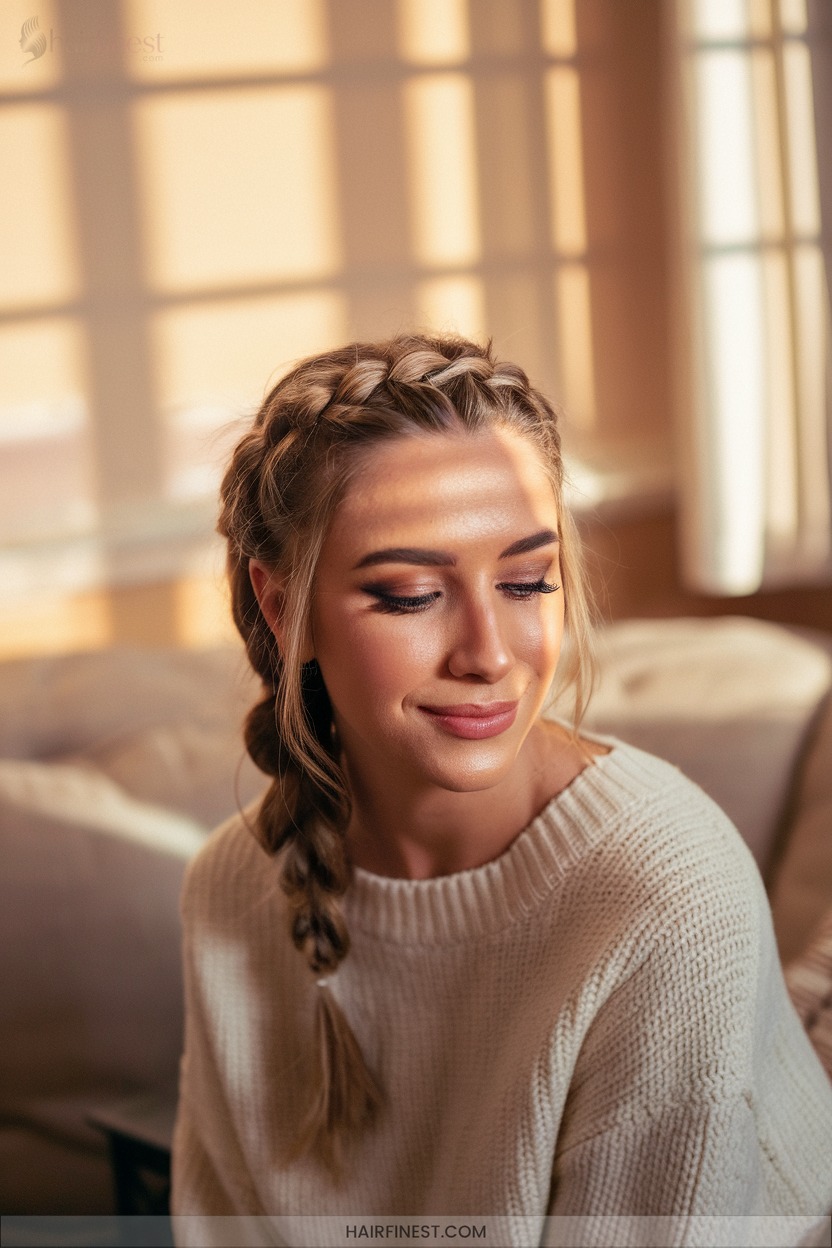
Wondering how to achieve a polished yet versatile look that highlights your hair’s natural texture?
Start with clean, detangled, medium-to-long hair.
Section the top half, then braid each side using a classic three-strand or Dutch method.
Secure, join, and twist braids at the back for a sleek knot.
Adjust tension and volume for symmetry.
Experiment with lace or crown variations for advanced, innovative styling.
13. Infinity Braid Creation
Master the art of the infinity braid by dividing your hair into two equal sections, then select a small wrapping strand from one side to establish the signature figure 8 weave.
Maintain even tension as you alternate incorporating hair from each side into the wrapping strand, ensuring consistent section width.
Use precise parting tools and a mirror setup for control.
Finish with a discreet elastic for a seamless, innovative look.
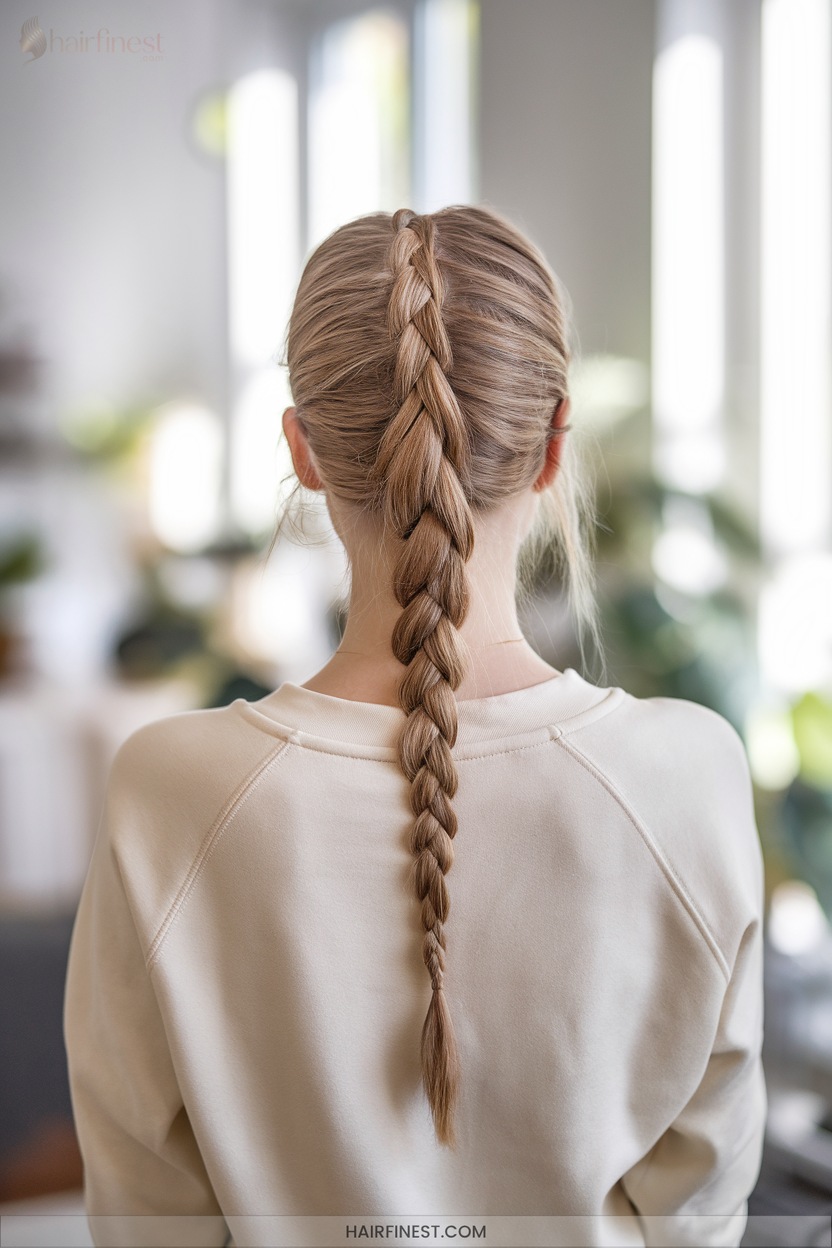
14. Braided Ponytail Look

Elevate your styling repertoire with the braided ponytail look—a versatile technique that combines structural braiding with the practicality of a ponytail.
Transform your everyday ponytail with the artful structure of braiding for a look that’s both polished and practical.
Begin by securing hair into a high ponytail, then section into three strands for a classic three-strand braid.
For innovation, integrate side braids, lace braids, or hidden plaits.
Finish with high-tension hair ties, precision edge control, and strategic embellishments for maximum visual impact.
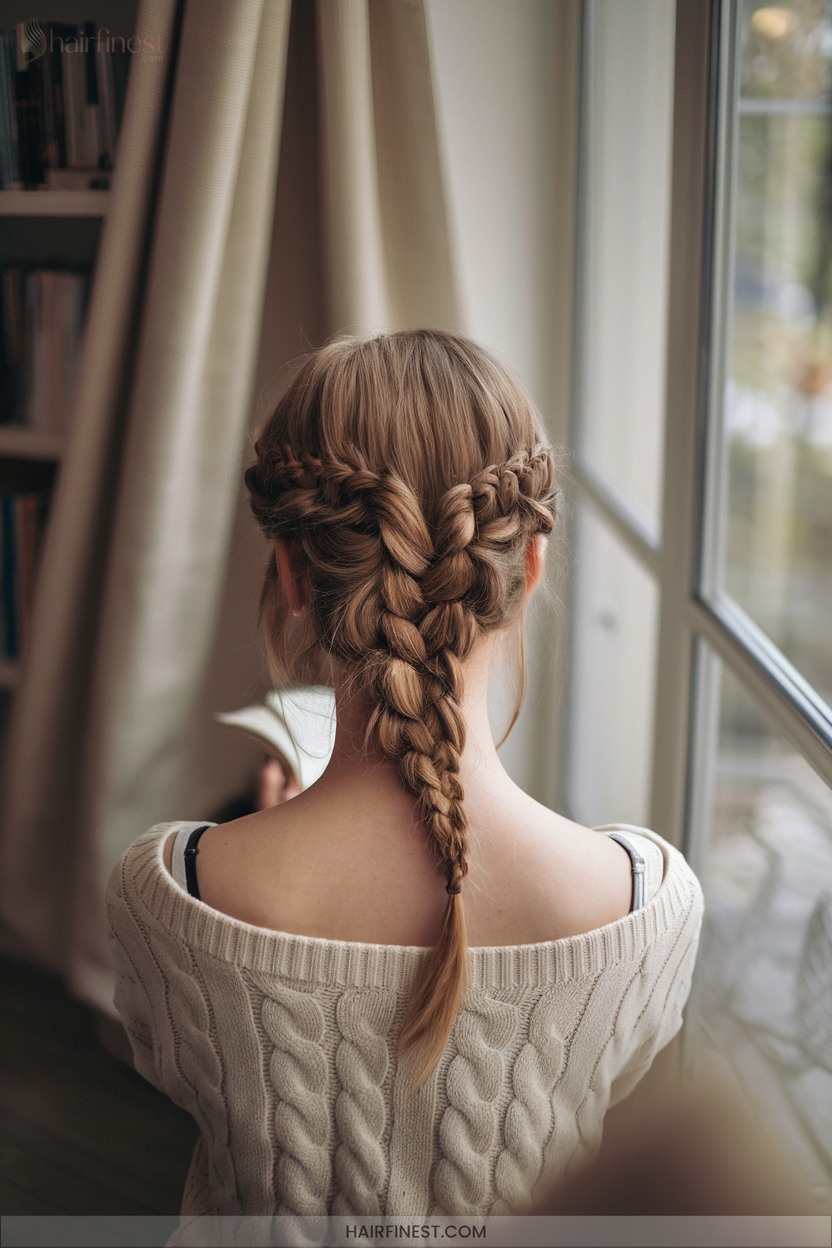
15. Milkmaid Braids

A classic milkmaid braid transforms medium to long hair into an elegant, protective crown by wrapping two traditional three-strand braids across the top of the head.
For best results, you should:
- Prep hair with texturizing spray for grip.
- Divide and braid two even sections, secure with elastics.
- Pin braids from base to crown with bobby pins.
- Tuck ends for seamless finish.
16. Bubble Braid Steps
After achieving the structured elegance of milkmaid braids, turn to bubble braids for a modern, voluminous effect that requires minimal braiding skill but delivers maximum visual impact.
Section hair and secure with elastics at equal intervals, using index fingers and thumbs to gently expand each segment and form symmetrical bubbles.
For precise results, maintain even tension, employ snag-free elastics, and finish with strategic bubble adjustment and optional embellishments.
17. Reverse French Braid
For a braid that delivers maximum dimension and graphic detail, master the reverse French braid.
It is also called the Dutch braid. This requires you to cross each side section under, rather than over, the middle strand.
To optimize this technique:
- Begin with clean, detangled hair.
- Maintain consistent tension and even strand thickness.
- Incorporate sections gradually for structural integrity.
- Use hair clips for precise sectioning control.
18. Braided Bun Tutorial

Building on the structural technique of the reverse French braid, the braided bun offers a versatile updo that combines braiding fundamentals with strategic bun formation.
Section your hair, leaving face-framing pieces.
Secure a ponytail, tease for volume, and braid using a classic or Dutch technique.
Coil the braid around the bun’s base, pin securely, and conceal ends.
Optimize tension, finish with hairspray, and accessorize for impact.
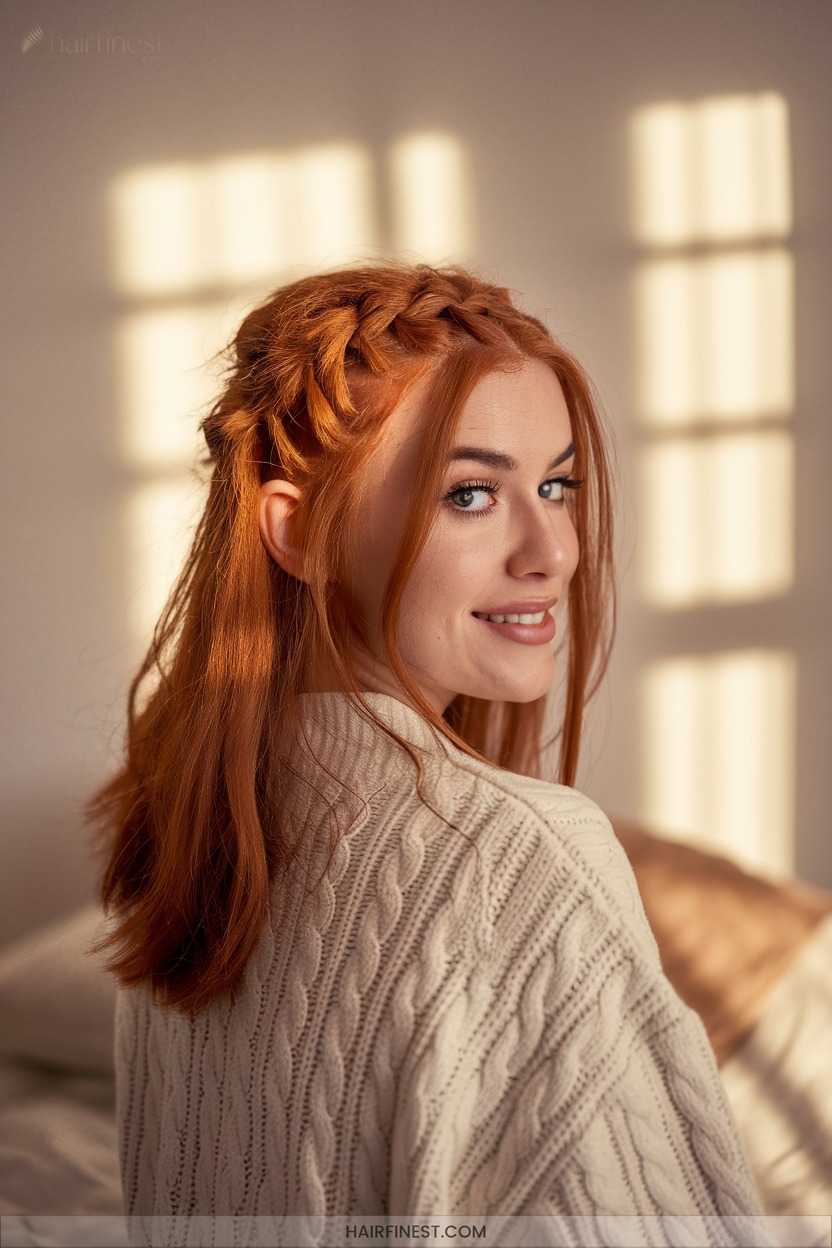
19. Boho Accent Braid
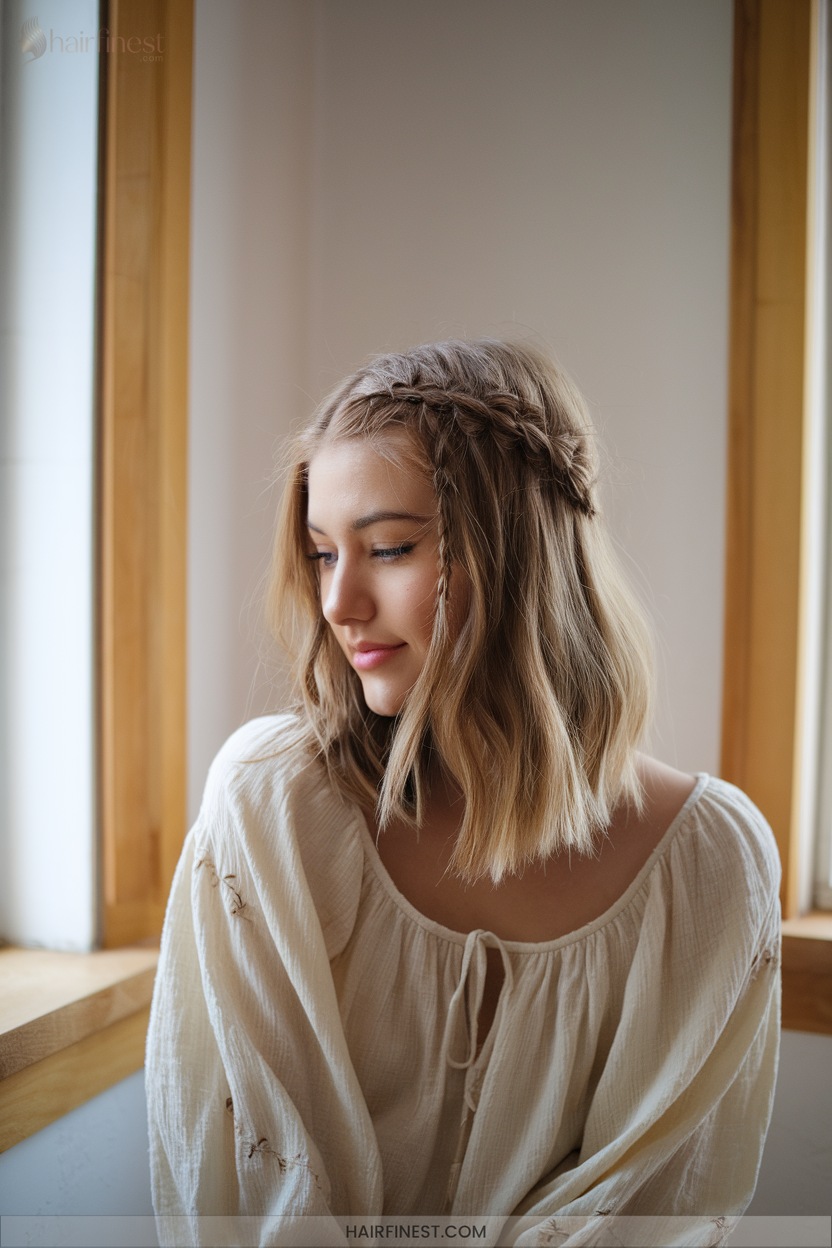
Wondering how to add a free-spirited, textured detail to your everyday style? The boho accent braid delivers a seamless, lightweight effect with intricate technique.
To optimize this look:
- Section a narrow strand along your hairline or crown.
- Use Dutch or lace braiding, integrating hair only from one side.
- Secure with a clear elastic.
- Gently pancake the braid for volume and dimension.
20. Zigzag Braid Design
Elevate your braided repertoire by mastering the zigzag braid design—a style that requires careful sectioning and sharp parting for maximum visual impact.
Start by using a rattail comb to trace precise zigzag lines, alternating direction at each segment for geometric definition.
Braid tightly at the scalp, maintaining even tension, and secure with elastics.
Experiment with spacing, accent accessories, and asymmetrical placements to innovate your finished look.
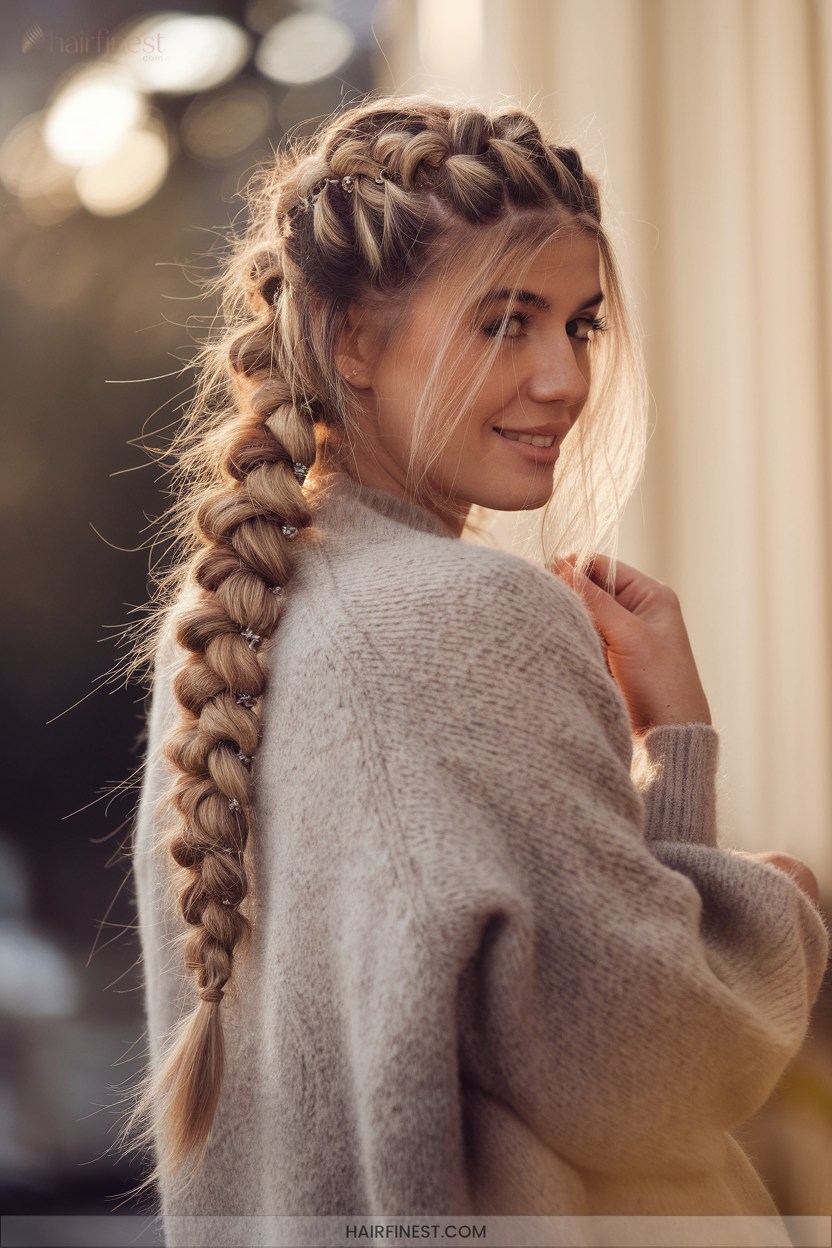
21. Boxer Braids

Symmetry defines boxer braids—a dual Dutch braid style anchored by clean center parting and tight, scalp-hugging plaits.
For ideal execution, you’ll want to:
- Section hair with a rat-tail comb for precision.
- Maintain even tension for uniform structure.
- Incorporate all edge hair for a seamless finish.
- Secure ends with elastics and refine flyaways with gel.
Master this for sport-ready, fashion-forward impact.
22. Ladder Braid Method

Building on the structured appeal of boxer braids, the ladder braid method introduces a visually striking pattern defined by a series of horizontal “rungs” woven seamlessly into a three-strand base.
Begin with a precise base braid, then switch to a lace braid by incorporating thin, controlled sections from one side only.
Maintain consistent tension and spacing between rungs for ideal clarity and an architectural, innovative finish.
23. Braided Headband Technique
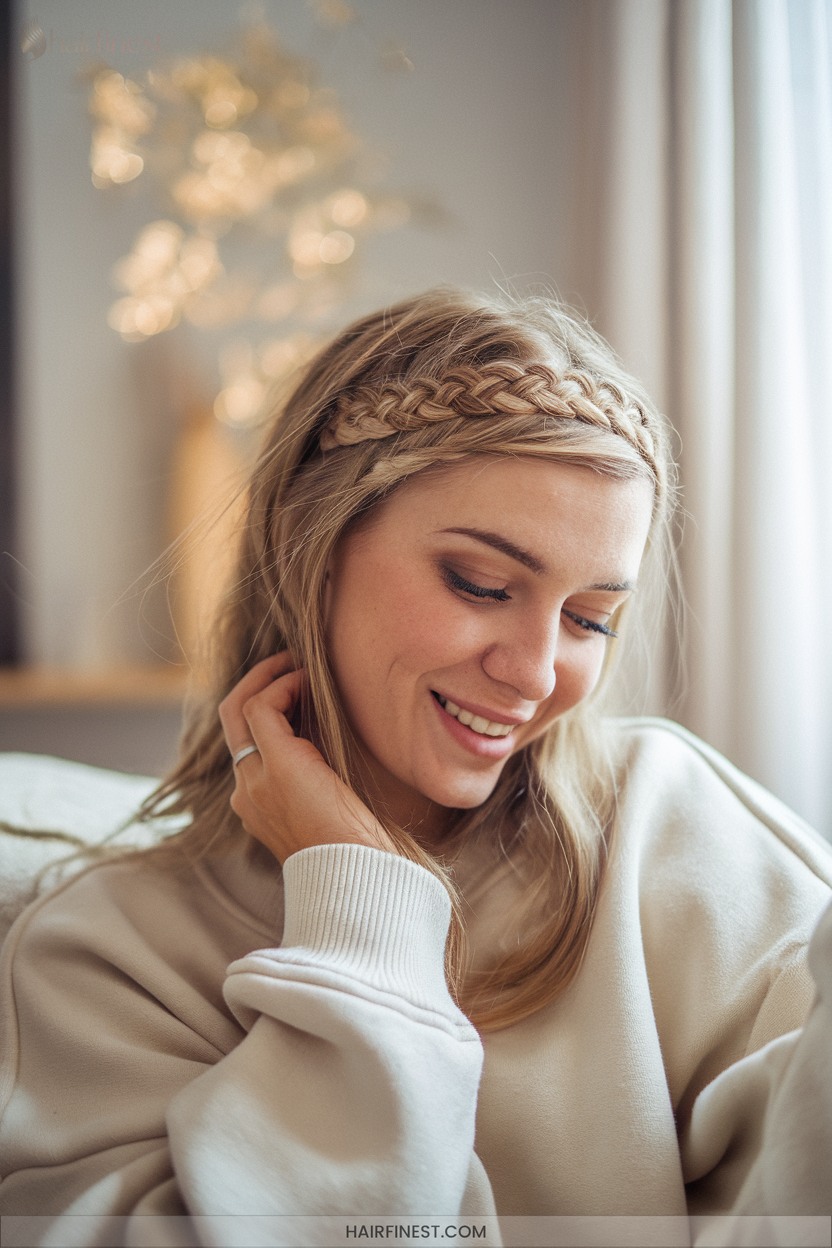
A braided headband offers a versatile way to frame the face while keeping hair off the forehead, combining function with style.
A braided headband frames the face beautifully, blending practical hair control with effortless, chic style.
For a sleek execution, you’ll want to focus on precision and product selection.
Here’s how to innovate:
- Section a 3-inch swath from a deep side part.
- French braid along the hairline.
- Pancake the braid for volume.
- Secure with an elastic and conceal ends.
24. Heart-Shaped Braid
Curious how to achieve a flawless heart-shaped braid for standout occasions?
Begin with a precise center part, creating symmetry.
Utilize a wand for texture, then section a defined heart shape.
Employ Dutch braiding, curving along each heart arch, securing with elastics.
Pancake the braids to volumize, refine shape, and integrate both sides.
Prioritize even tension and adjust partings for a perfectly balanced, innovative result.
25. Elegant Updo With Braids
Wondering how to construct a polished updo that merges intricate braiding with refined structure?
Precision and innovation define this process.
Here’s how you elevate your style:
- Section hair strategically—try three low ponytails for symmetry.
- Employ Dutch or crochet braiding for dimensional texture.
- Wrap and pin braids in a crisscross pattern for stability.
- Gently pull and shape for a soft, sophisticated finish.
Frequently Asked Questions
How Do I Keep My Braid From Unraveling Throughout the Day?
Apply a professional-grade braid gel pre-braiding for enhanced strand adhesion. Secure ends with elastics or sealant, then hot water dip for synthetic hair. Maintain integrity by minimizing friction, wrapping hair nightly in silk, and reapplying light-hold spray.
What Products Help Prevent Frizz in Braided Hairstyles?
To prevent frizz in braided hairstyles, you’ll want to use sulfate-free shampoos, curl creams, lightweight mousses, braid sheen sprays, and natural oils. Employ silk accessories nightly to optimize moisture retention and maintain a sleek, innovative braid finish.
Can Braiding Damage My Hair if Done Too Often?
Yes, if you braid your hair too frequently, you’ll increase cuticle damage, tensile strength reduction, and risk traction alopecia. Mitigate damage by minimizing braid frequency, reducing tension, and integrating advanced protective formulations to support fiber integrity and scalp health.
How Do I Braid Short or Layered Hair Effectively?
To braid short or layered hair effectively, section precisely, apply strong-hold styling gel, and maintain consistent tension. Integrate shorter layers incrementally, using underhand or crown-based techniques. Secure with micro-elastics, ensuring structural integrity and minimizing flyaways for a polished, innovative finish.
What’S the Best Way to Sleep With Braids to Avoid Tangling?
To optimize braid integrity overnight, you’ll want to sleep on silk or satin pillowcases, secure braids in a loose, high bun, and wear a bonnet. Maintain neutral head alignment and hydrate braids to minimize tangling and breakage.
Conclusion
Mastering these 25 braided hairstyles equips you with versatile techniques for any occasion. With precision in sectioning, consistent tension, and secure fastening, you’ll achieve polished results every time. Experimenting with these styles can also inspire you to create your own unique looks that suit your personal style. Whether you’re dressing up for an event or just looking for some casual, messy braided hairstyle ideas, the techniques you’ve mastered will help you adapt each braid to your mood. Embrace the creativity that comes with braiding, and don’t be afraid to mix and match elements for a fresh take on classic styles.
Don’t hesitate to experiment with partings, braid placements, and accessories to personalize each look. Practice guarantees dexterity, so revisit foundational methods like the three-strand and French braid to build speed and accuracy. With these step-by-step tutorials, you’ve got the expertise to craft flawless braids with professional finesse.


